
Water left inside an irrigation system can cause serious problems during the cold winter months, with the potential to freeze, expand and crack the system’s pipes. Freezing water in the backflow assembly also can damage the internal components and can crack the system’s brass body. To minimize the risk of freeze damage, it’s necessary to winterize irrigation systems in regions with freezing temperatures.
In areas where winterization is mandatory, irrigation systems are winterized using one of three types of water removal: manual drain, auto drain or blowout. If uncertain about the system type, it’s most common to use the blowout method. Take extreme care when blowing out an irrigation system with compressed air, which can cause serious injury. Always wear proper eye protection and do not stand over any irrigation components during the blowout in case of flying debris.
The job will require an air compressor with a cubic foot per minute rating of 80 to 100 for any mainline with a diameter of 2 inches or less. This device can be rented at most equipment rental yards. A small shop compressor will not have enough air to do the job correctly.
Follow the steps here to properly winterize an irrigation system using the blowout method.
Step 1

Shut off the irrigation water supply to prevent more water from entering the system. With the compressor valve in the closed position, attach the air compressor hose to the mainline using a quick coupler, hose bib or other type of connection, which is located after the backflow device.
Step 2
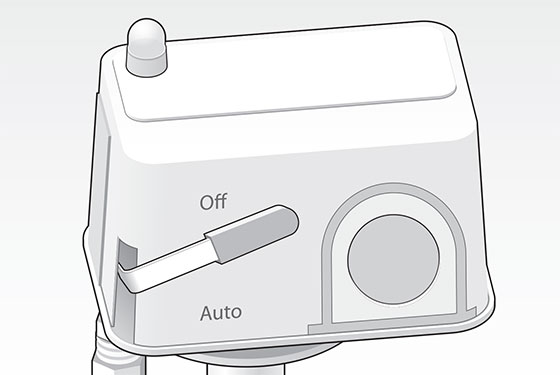
Activate the station on the controller that’s in the zone furthest away from the compressor, or the sprinklers at the highest elevation away from the compressor.
Step 3

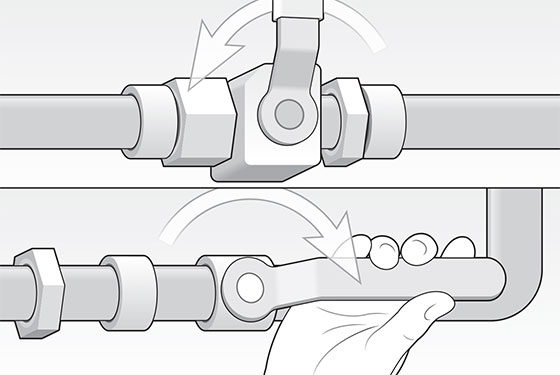
Close the backflow isolation valves, then slowly open the compressor valve to gradually allow air to fill the sprinkler system. The blowout pressure should remain below the maximum operating pressure specification of the lowest pressure rated component on that zone and should never exceed 80 PSI. Each zone should be activated for about two minutes or until no water can be seen exiting the heads. Repeat for all remaining zones, ending with the zone closest to the compressor.
Step 4
Once the water has been removed from the irrigation system, turn off the compressor and disconnect it from the system. Once the zone is dry, do not continue to blow air through the pipe. Open the valves on the compressor to release any excess air pressure.
To download a PDF of this page from the magazine, click here.
Source: Hunter Industries; wikiHow
Illustrations: David Preiss

