
Lawn renovation involves restoring a deteriorated turfgrass area to an improved condition. But before getting started, contractors should correct the lawn’s underlying problems. Drought, excessive shade, tree root competition, poor drainage, soil compaction, inadequate fertility, acid soils, weed or insect infestation, disease, thatch buildup, improper mowing and poorly adapted grass species may contribute to poor turf.
Most of these problems can be corrected by renovation, proper turfgrass selection and improved maintenance practices. The lower temperatures and increased moisture of early- to mid-spring make for ideal lawn renovation conditions.
The lawn must first be prepared for renovation by getting rid of any weeds and pests, which will compete with the new grass. For common broadleaf weeds like dandelions and plantains, a broadleaf herbicide containing 2,4-D may be applied; the seeding may be done in two weeks. A herbicide containing a combination of 2,4-D, MCPP and dicamba is suggested if the weed population contains many different weed species or hard-to-kill weeds, such as clover or ground ivy. A six-week waiting period will be required following use of this herbicide combination.
Follow these steps to properly renovate a lawn.
Step 1

Cultivate the turf by dethatching and aerating. Apply lime in accordance with a soil test.
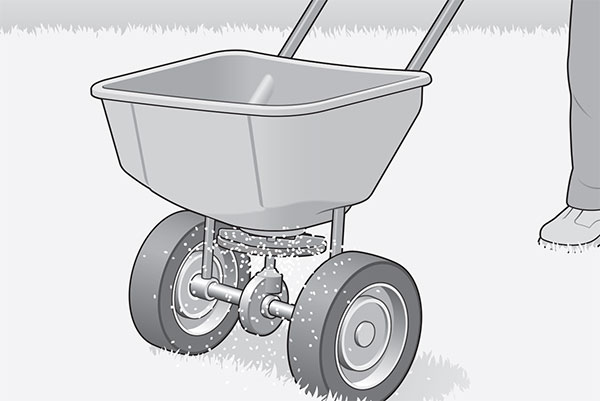
Step 2
Apply a starter fertilizer containing both nitrogen and phosphorus at the recommended rate.
Step 3
Repeat Step 1 to further prepare the seedbed. Then, overseed the lawn. When choosing the type of turf seed, consider seed quality, water needs, maintenance needs, sun/shade requirements and resistance to regional pests and diseases.
Step 4

After seeding, drag the area to work the seed into the seedbed. Apply a light application of straw mulch to retain moisture and promote germination
Step 5
Keep the seeded areas moist until the seed has germinated and seedlings have become well-established, using enough water to wet the surface but not enough to cause runoff.
To download a PDF of this page to use as a training tool for your team, click here.
Sources: Roanoke Landscapes; Penn State College of Agricultural Sciences

